Before digital, before silver (what we know as ‘silver gelatin’) there were ‘alternative processes.’ I find this amusing, since at the time (1840s to the mid-187os) there were no other alternatives. It is only in the digital age that we can approach photography this way. There were several different types of processes. You can look them up yourself. I have chosen gum bichromate printing as my first step into this rich and varied past.
Gum bichromate printing entails mixing a potassium dichromate solution with gum arabic and watercolour pigment. I have chosen black. Potassium Dichromate is one of the more dangerous chemicals on the planet. Needless to say I wear nitrile gloves, a Level 2 filter mask and safety glasses when I handle it. I am using 4×5 negatives and I hope soon to be printing some larger digital negatives so I can make larger prints.
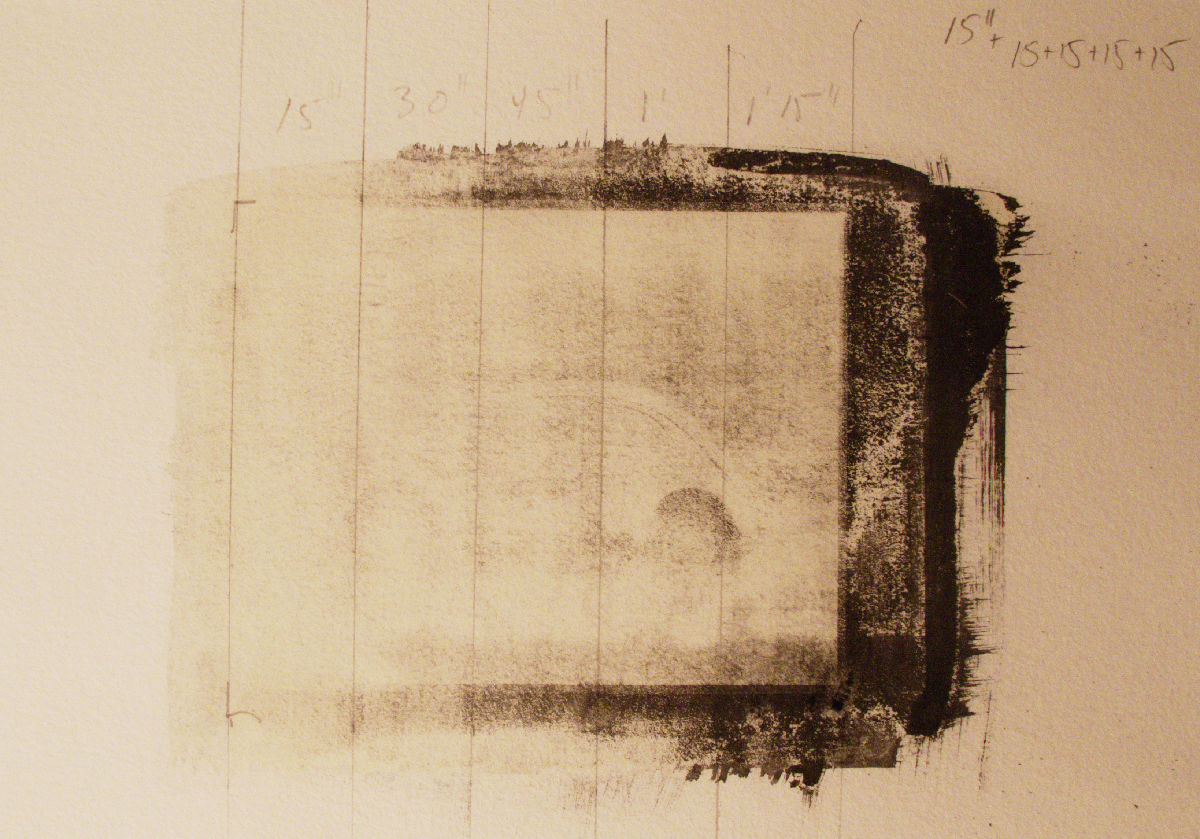
 I made the first test strip a week or so ago. The result is on the left. Intervals are 15″, 30″, 45″ and 1 minute exposures under full daylight.
The problem was not the emulsion, or the paper, but me. I wasn’t patient. I had not allowed the paper to dry fully between each preparation stage (sizing, gesso, emulsion). This resulted in flaking emulsion. A common error and easily rectified.
Three days ago I began the process again. Using 300 gsm Canson water-colour paper, I sized (soaked) this in 60C water for 30 minutes and left it to hang for 24 hours. The next step was to make sure my gesso mix was as thin as milk, which is much thinner than one thinks. The gesso needs to be thin so it can soak into the paper, not create a layer on top, as per a painter’s canvas. I applied the gesso in the late afternoon and left it to dry under an exhaust fan for several hours. Two nights ago, around 22:00hrs following the weekly Photo Club meeting, I went back into the darkroom and applied the emulsion coat after the gesso had completely dried. I used 5ml of potassium dichromate solution to 8ml of gum arabic. For colour I added about .5 gram of black water-colour paint (Van Gogh). I mixed this well using a natural bristle brush and painted it onto the paper using a foam paintbrush.
Yesterday morning, after letting the emulsion-coated paper dry overnight under the exhaust fan, with a dehumidifier running and a small heater maintaining 20-21C, my paper was dry to the touch.
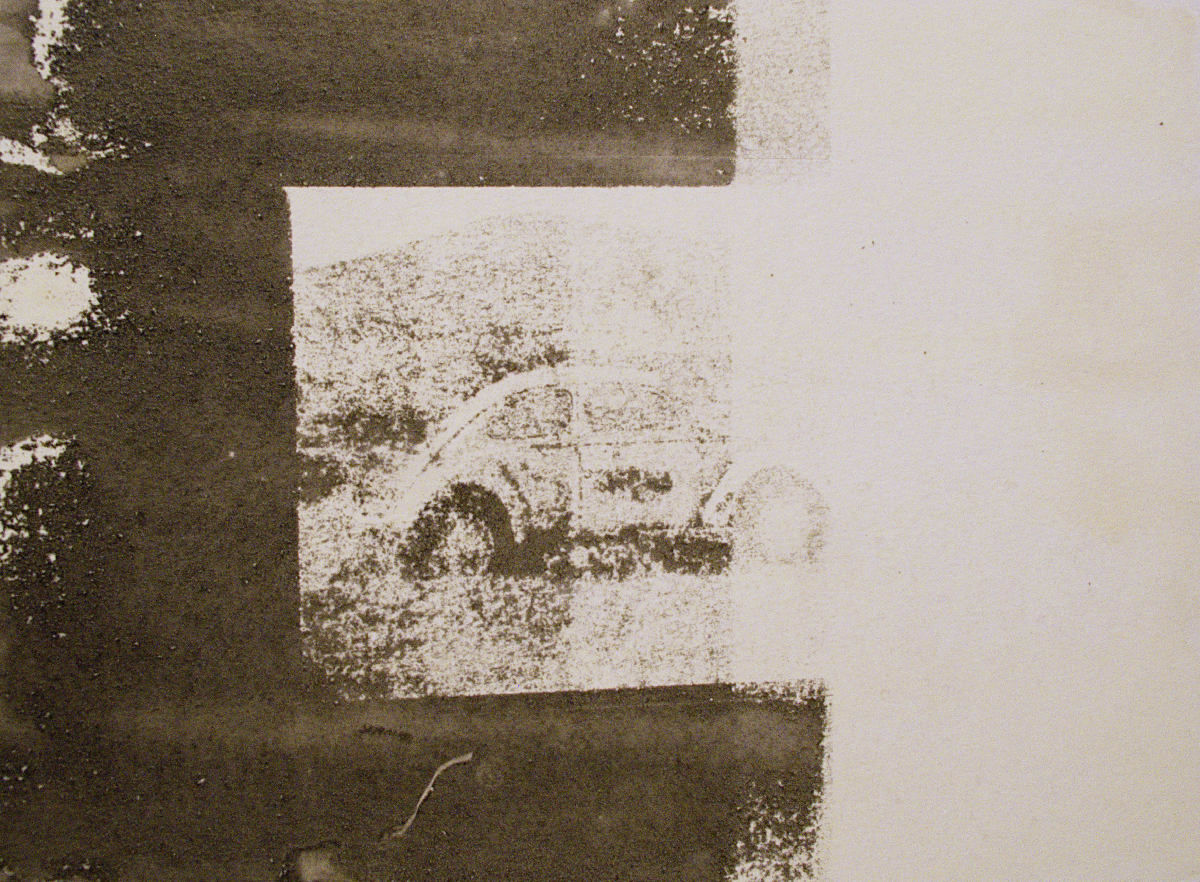
I used the same VW Bug 4×5 negative. The first test strip was better. Once again, 15″ intervals up to 1’15” under full sun at 10:00. The result was a huge improvement in detail and resolution, although clearly not enough time. I was on the right track.
Test strip at 15″ intervals up to 1’15”
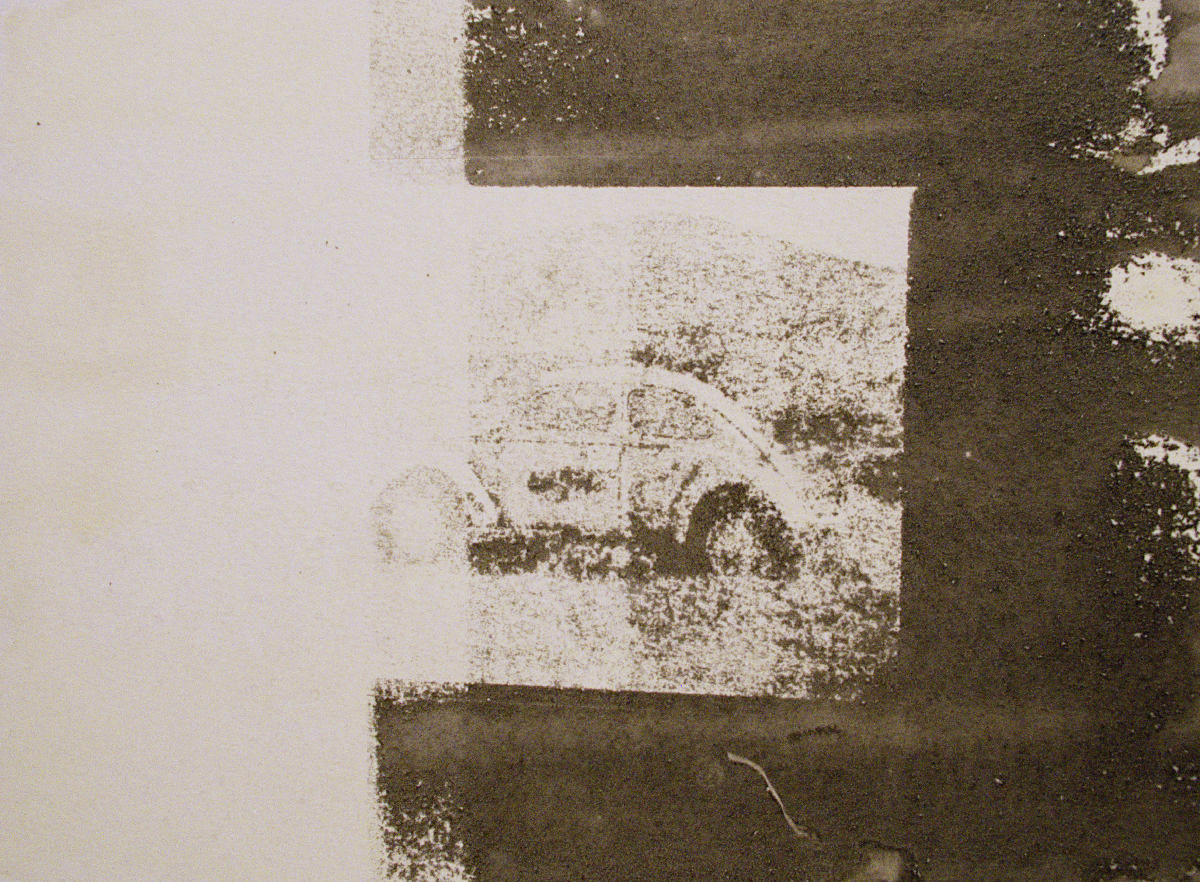
I decided to increase the exposure time for the first proof to 1’45”. After developing the print in three consecutive trays of 20C water for 20 minutes, this is what emerged.
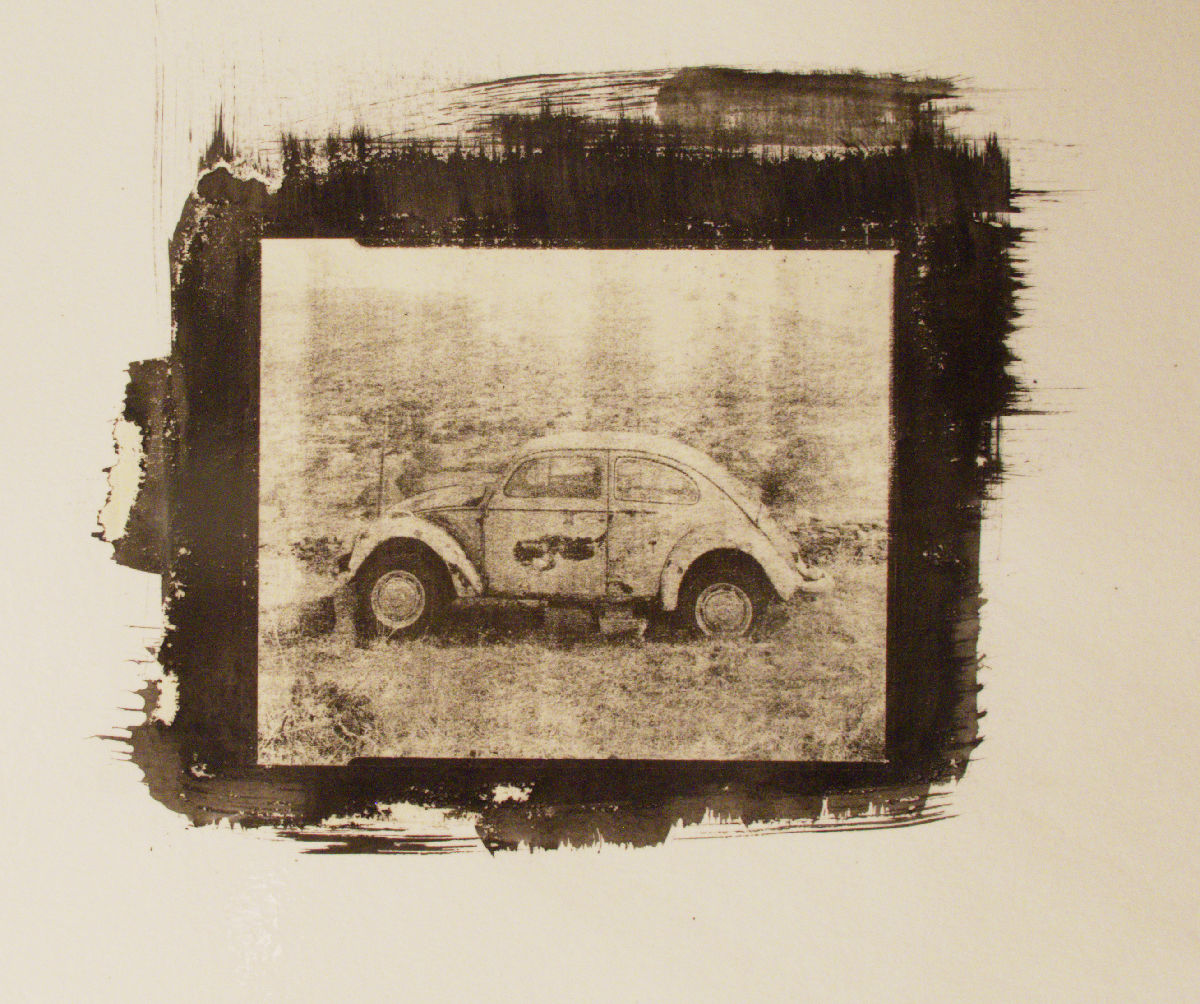
1’45”, full sunlight 10:20, March 8, 2018, Paros.
Much improved! The next time I print (tomorrow), I will expose the whole piece for the 1’45”, then burn in the top 30% for an additional 30″-45″ so the top of the hillside and the sky behind the car achieve some tone.
–JDCM
Fabulous. Love all the process.
Very interesting work John!
Thanks for sharing.